No Events
Welcome to the Water Garden Society of Greater kansas city
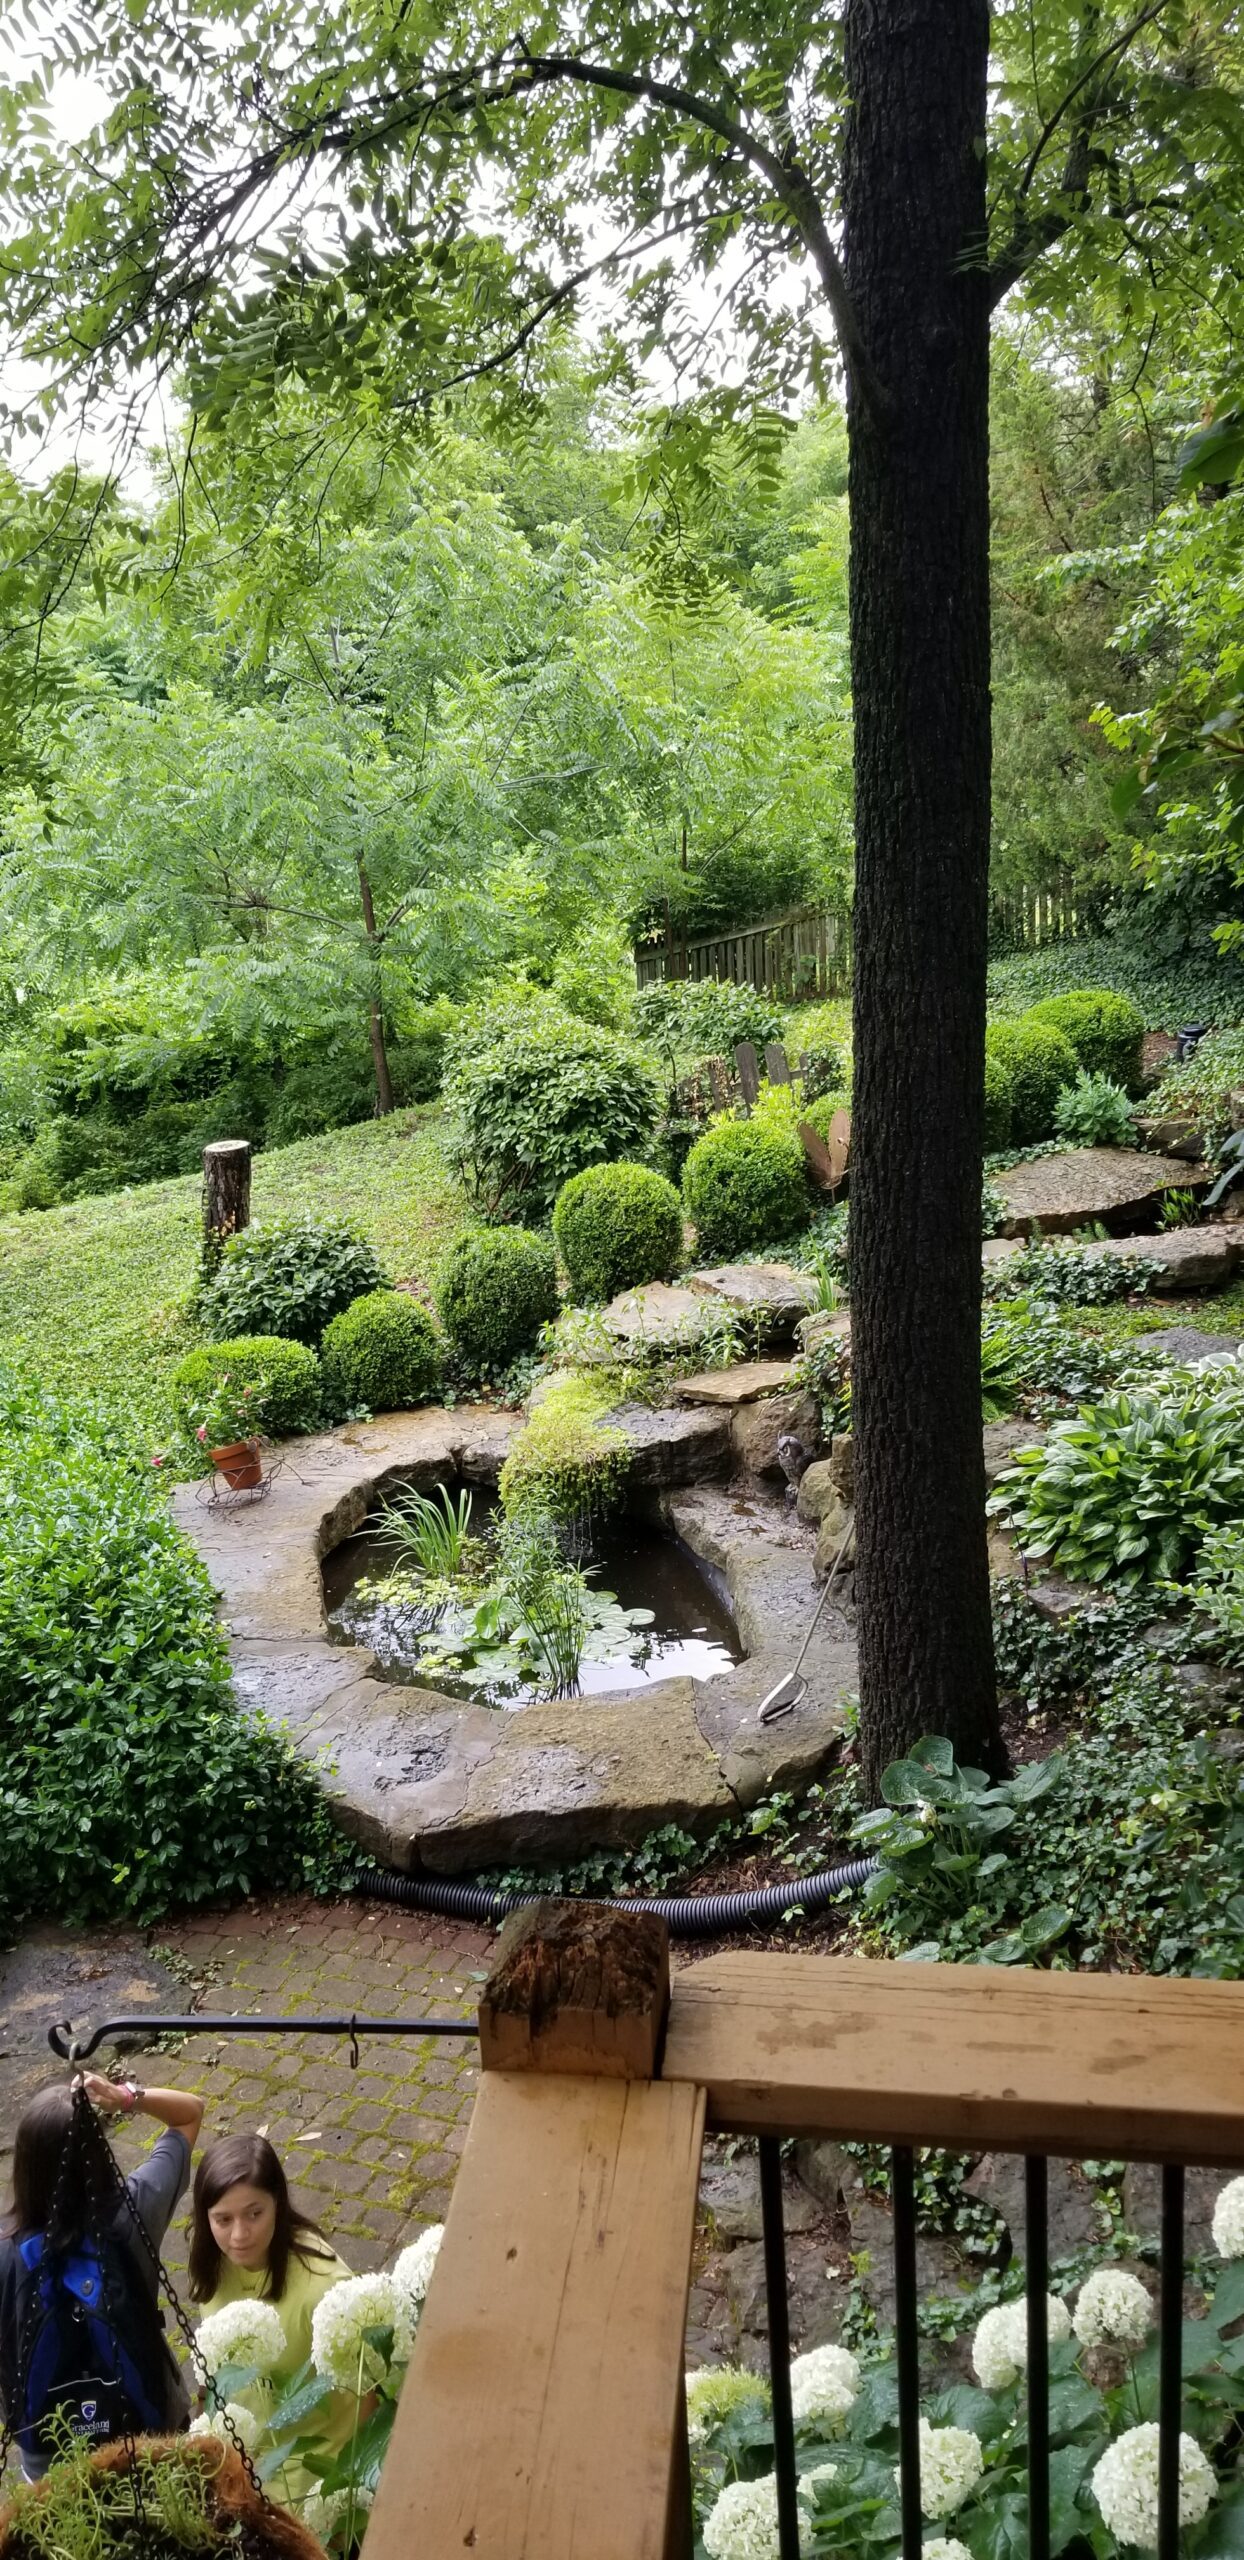
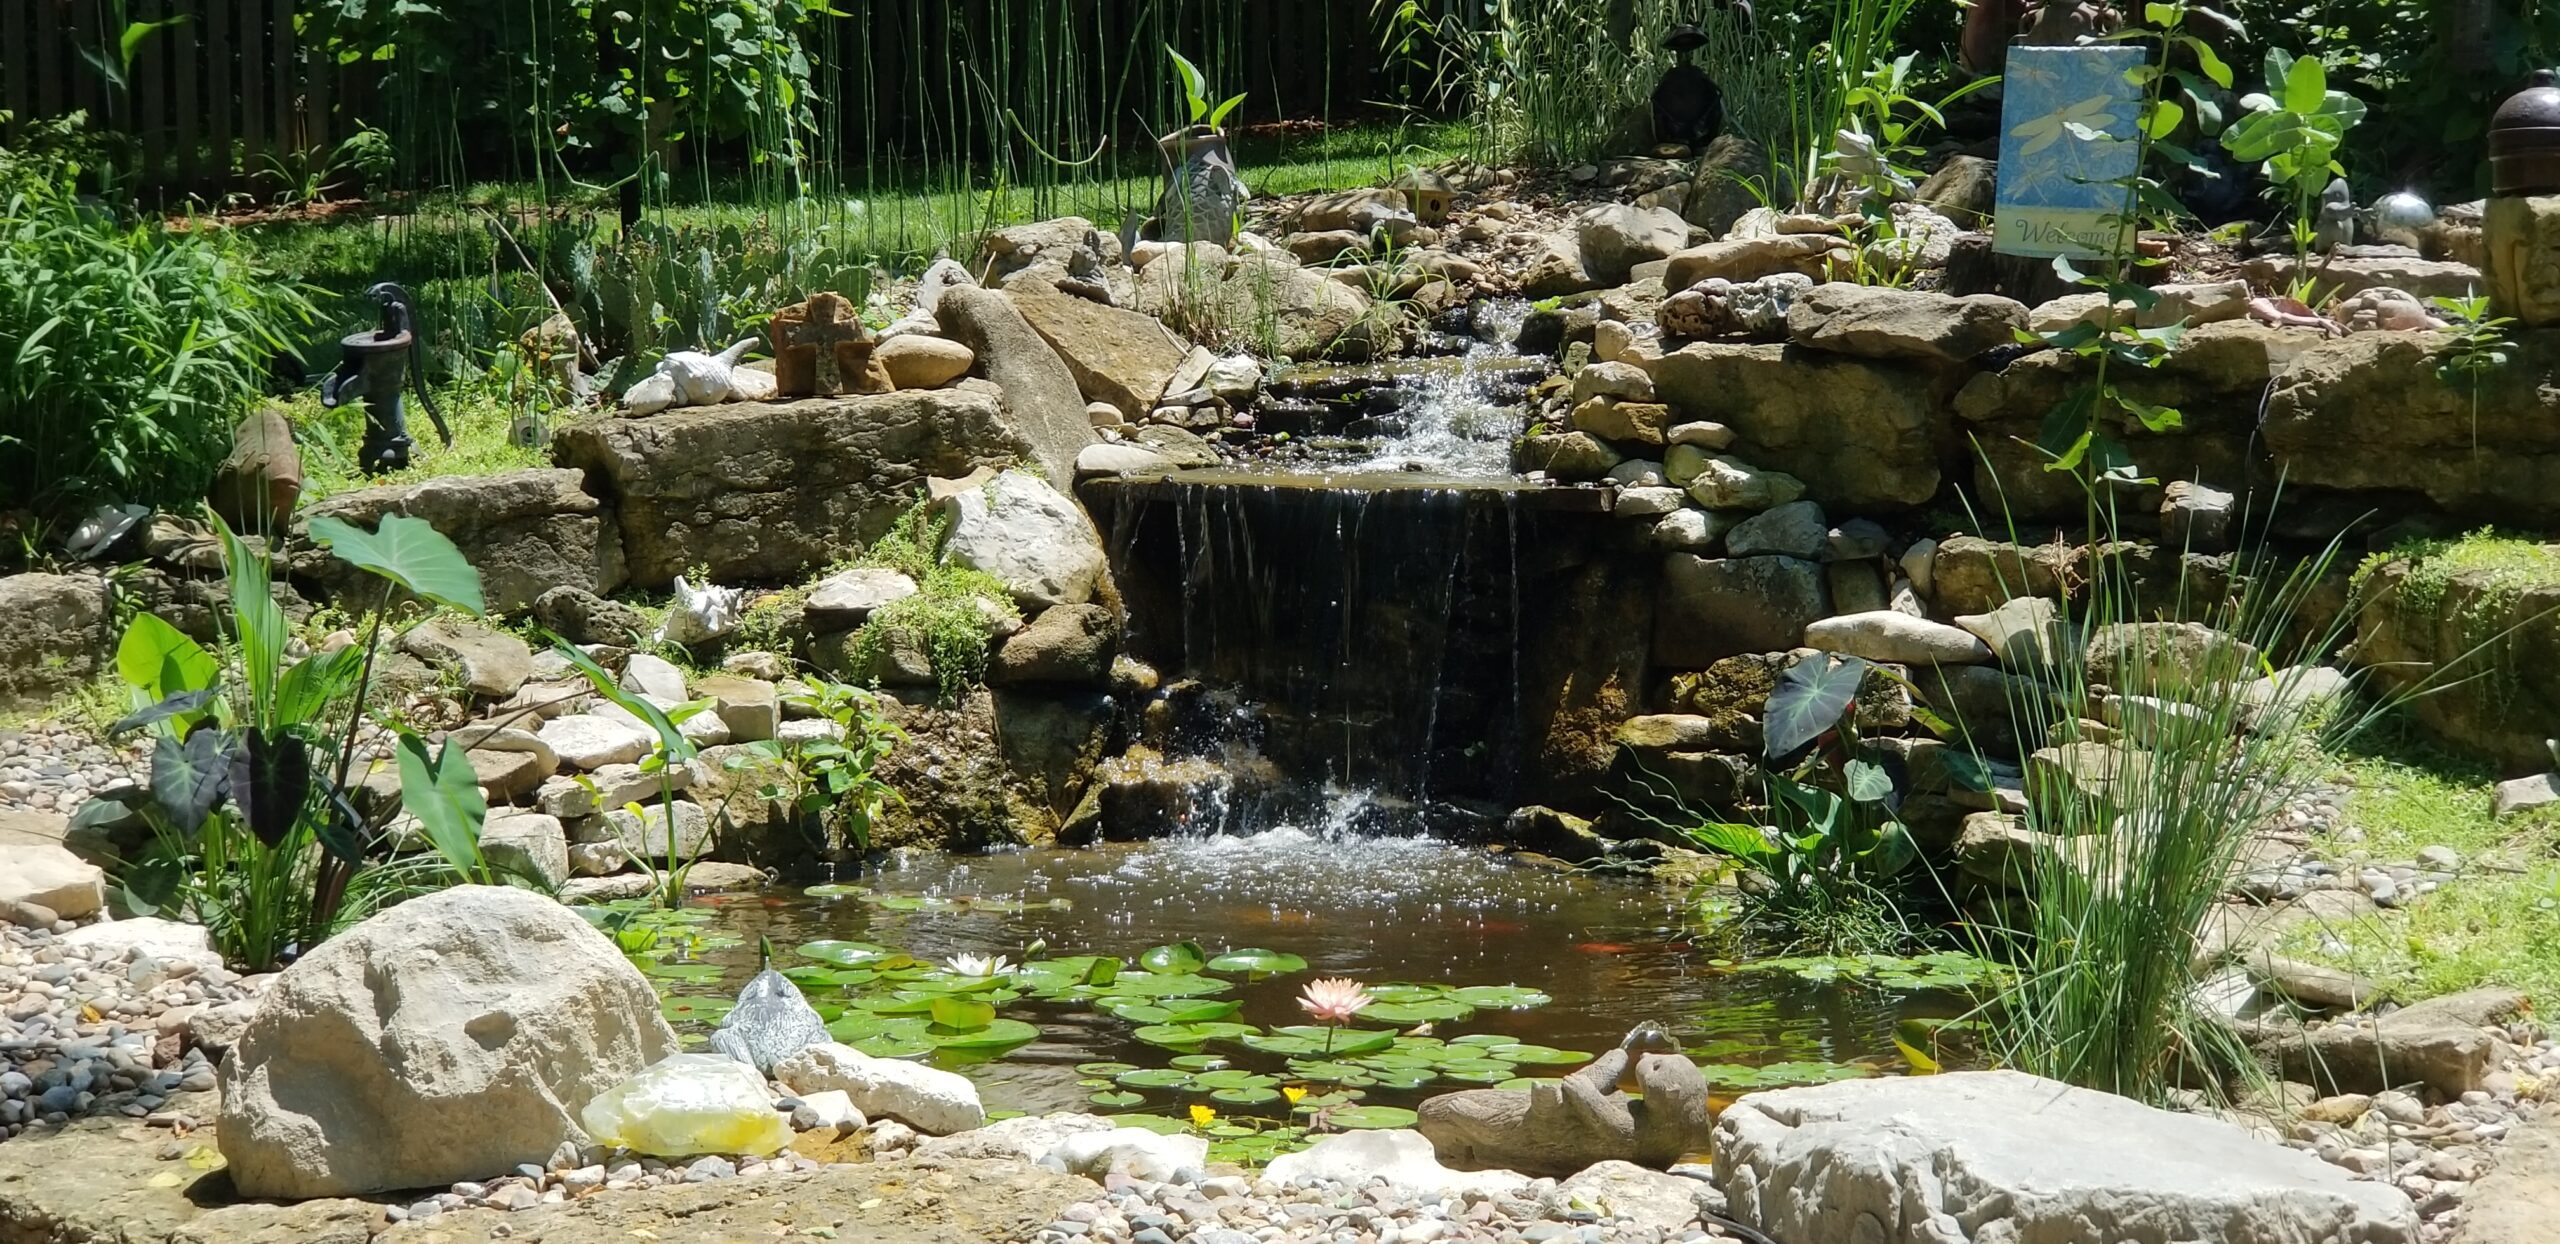
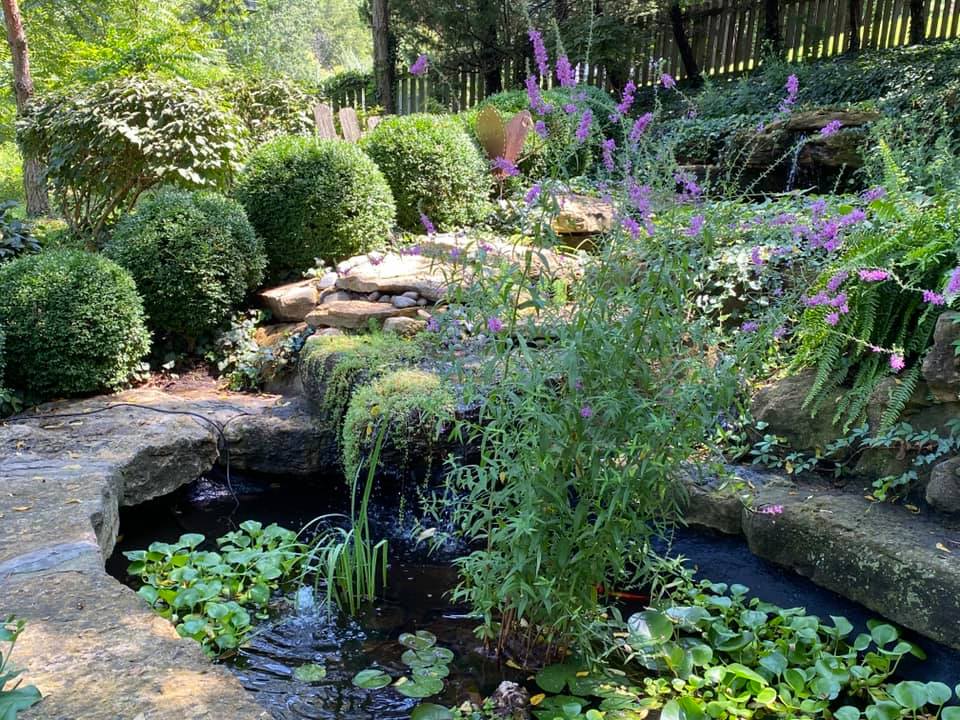
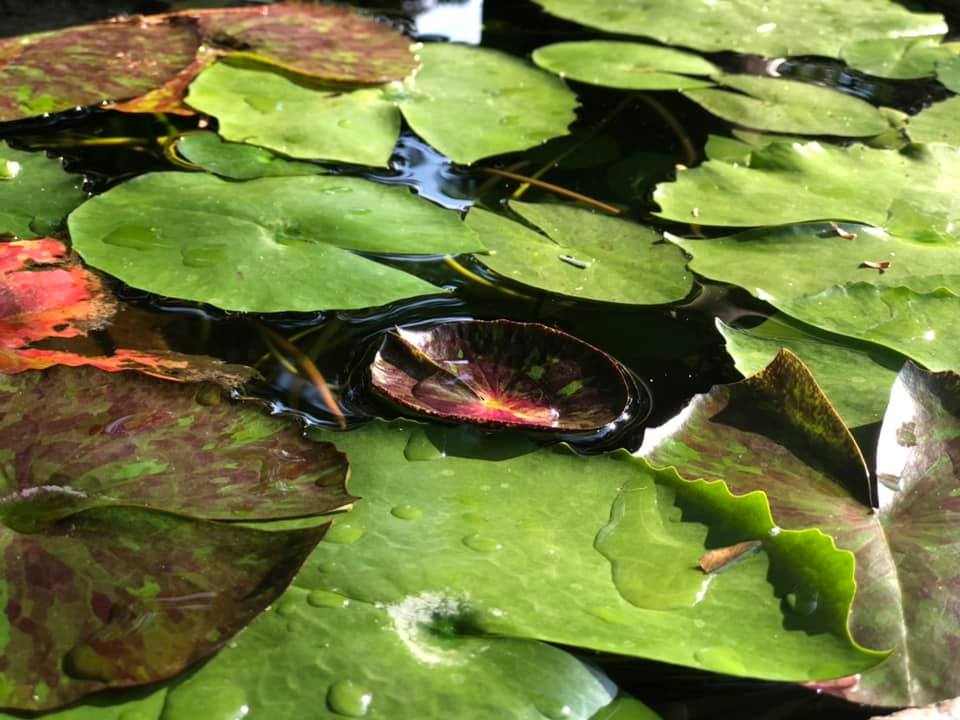
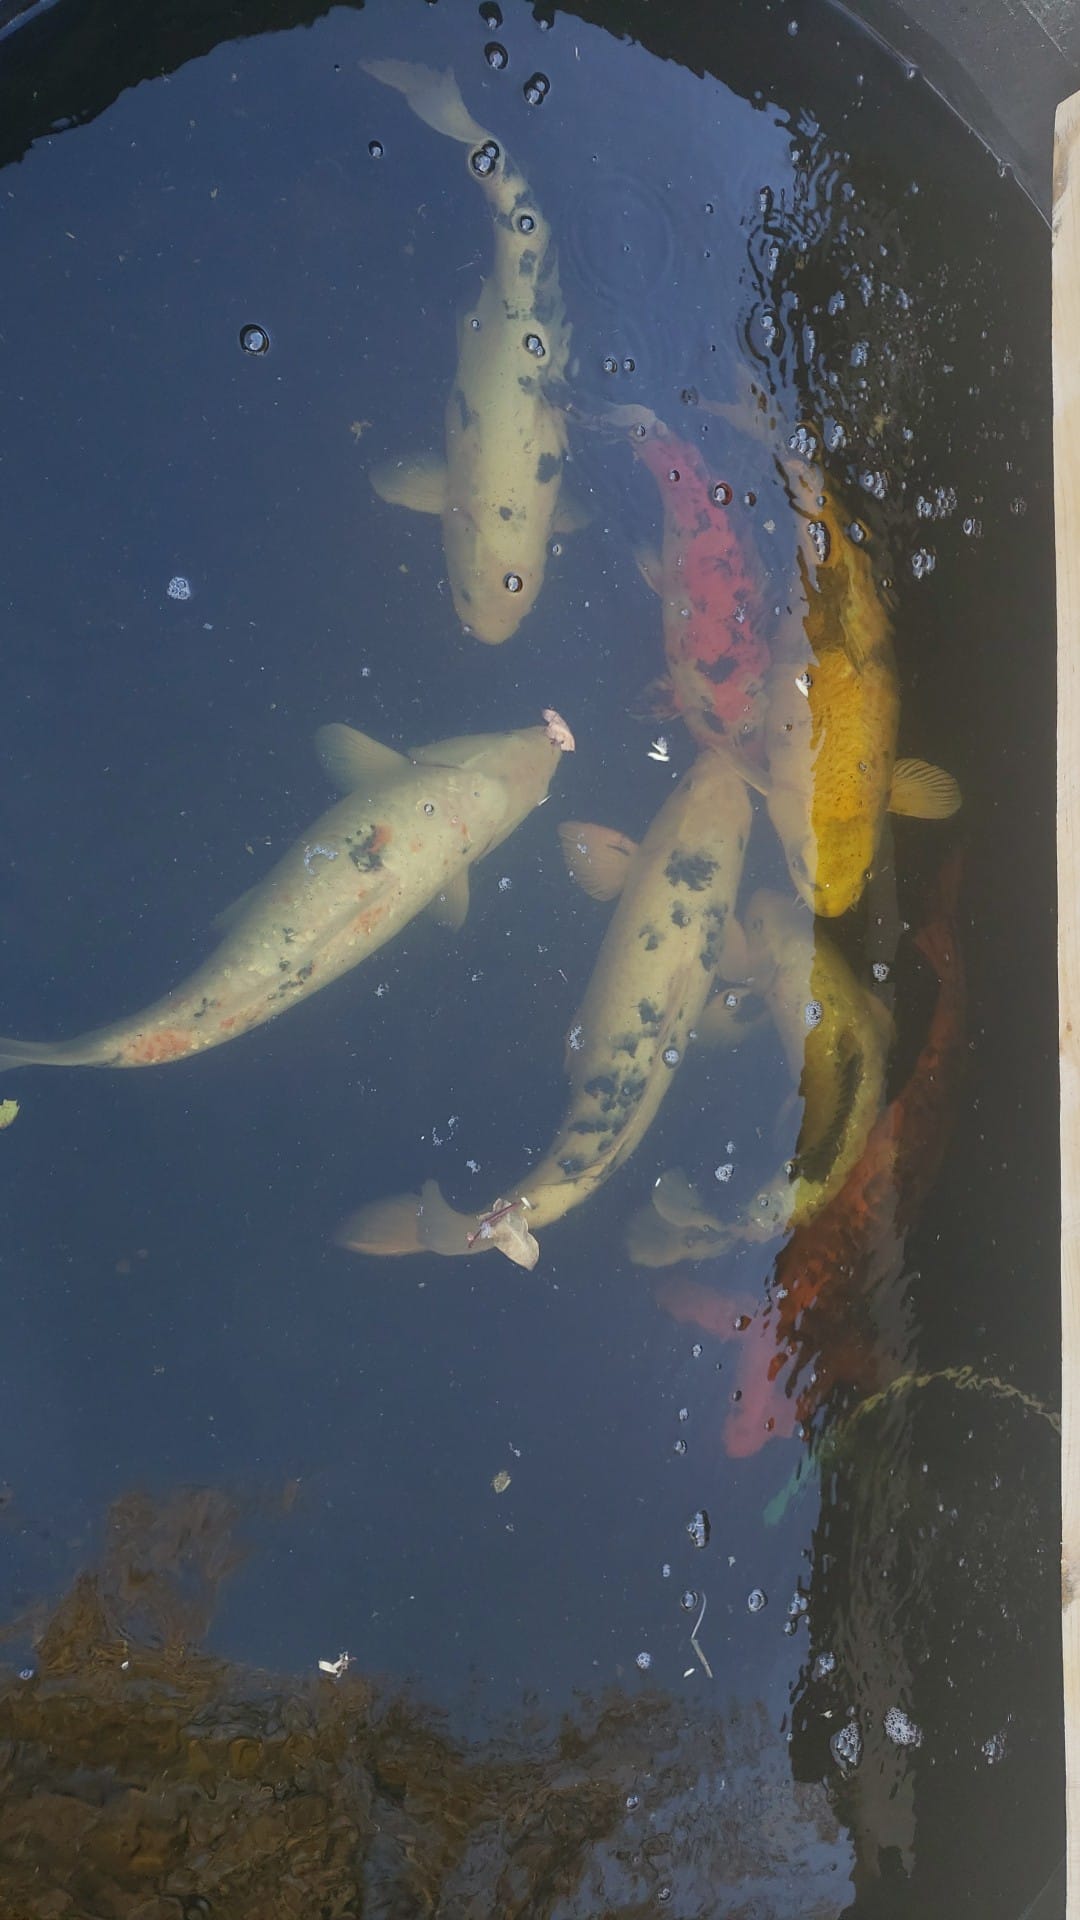
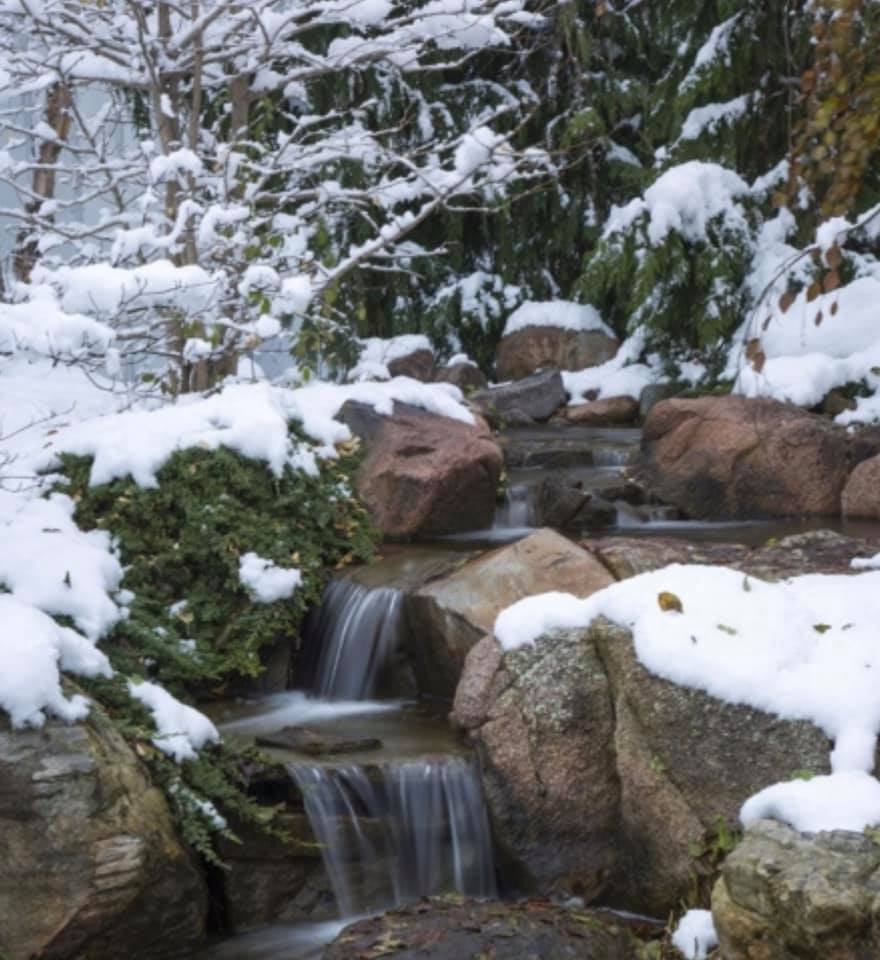
The Water Garden Society of Greater Kansas City is devoted to all aspects of installing, maintaining and enjoying residential water features. The society hosts monthly meetings at Our Lady of Sorrows church. Each meeting features one, or sometimes two, speakers. Past speakers have included local water feature installers, plant and fish experts, and landscape materials suppliers. Members of the general public are welcome at all society events.
upcoming events
Events for May
1st
Events for May
2nd
No Events
Events for May
3rd
No Events
Events for May
4th
No Events
Events for May
5th
No Events
Events for May
6th
No Events
Events for May
7th
No Events
Events for May
8th
No Events
Events for May
9th
No Events
Events for May
10th
No Events
Events for May
11th
No Events
Events for May
12th
No Events
Events for May
13th
No Events
Events for May
14th
No Events
Events for May
15th
No Events
Events for May
16th
No Events
Events for May
17th
No Events
Events for May
18th
No Events
Events for May
19th
No Events
Events for May
20th
No Events
Events for May
22nd
No Events
Events for May
23rd
No Events
Events for May
24th
No Events
Events for May
25th
No Events
Events for May
26th
No Events
Events for May
27th
No Events
Events for May
28th
No Events
Events for May
29th
No Events
Events for May
30th
No Events
Events for May
31st
No Events
Powered by Modern Events Calendar